No products in the cart.
Blog
How to Make a Skateboard Deck: A Step-By-Step Tutorial
How to make a skateboard deck is a question many skateboarding enthusiasts and DIY hobbyists ask. Creating your skateboard deck is not only a rewarding project but also an opportunity to customize your board to perfectly suit your style and performance needs. To get started, you’ll need to gather essential tools and materials, including maple veneer sheets, wood glue, a mold or press, clamps, a router, and sandpaper. By following a step-by-step process—from preparing and gluing the veneer sheets to pressing, shaping, and finishing the deck—you can craft a high-quality skateboard deck that reflects your flair and enhances your connection to the sport.
How to Make a Skateboard Deck: What to Prepare?
Creating your skateboard deck requires a few essential tools and materials:
Materials Needed:
- Maple Veneer Sheets: Typically, you’ll need about 7 plies of maple veneer for a standard deck.
- Wood Glue: Choose a water-resistant adhesive for durability.
- Mold or Press: To shape the deck.
- Jig or Clamps: These will hold the layers together during pressing.
- Router and Sandpaper: For cutting and smoothing the deck.
Process:
- Prepare the Veneer: Cut the maple veneer sheets to the desired dimensions.
- Glue and Layer: Apply wood glue between each layer of veneer, ensuring even distribution.
- Pressing: Place the layered veneers into a mold or press, applying pressure evenly.
- Shaping: Once the glue has cured, remove the deck from the mold and use a router to cut it to shape.
- Finishing Touches: Sand the edges and surfaces smooth, and optionally apply a finish or paint for aesthetics and protection.

Benefits of Making a Custom Skateboard Deck
Creating your own skateboard deck goes beyond just having a board to ride; it’s about the journey and the unique advantages of a custom made skateboard:
- Personalization: Design the deck to reflect your personality with custom graphics and shapes.
- Quality Control: Ensure the deck is crafted from high-quality materials and meets your standards.
- Performance Customization: Tailor the deck’s characteristics, such as flex and weight, to match your riding style.
- Satisfaction and Pride: Enjoy the satisfaction of riding a skateboard that you’ve built from scratch, enhancing your connection to the sport.
Different Materials Used in Skateboard Decks
Skateboard decks can be made from various materials, each offering distinct properties that affect performance and durability:
- Maple: Known for its strength and durability, maple veneer is the most common material used in skateboard decks.
- Bamboo: Offers flexibility and eco-friendly credentials, popular for its lightweight yet sturdy nature.
- Carbon Fiber: Provides exceptional strength-to-weight ratio, often used in high-performance decks for durability and responsiveness.
- Fiberglass: Adds stiffness and strength to the deck, sometimes used in combination with other materials for enhanced performance.
Factors to Consider When Designing Your Deck
Designing your own skateboard deck allows you to tailor it to your specific preferences and needs. Here are key factors to keep in mind:
- Riding Style: Consider whether you need a deck for street skating, vert ramps, cruising, or downhill, as each style may require different deck characteristics.
- Deck Shape: Choose from various shapes (popsicle, cruiser, old school) that influence stability, maneuverability, and comfort.
- Size and Dimensions: Select the right length, width, and wheelbase to match your height, shoe size, and riding preferences.
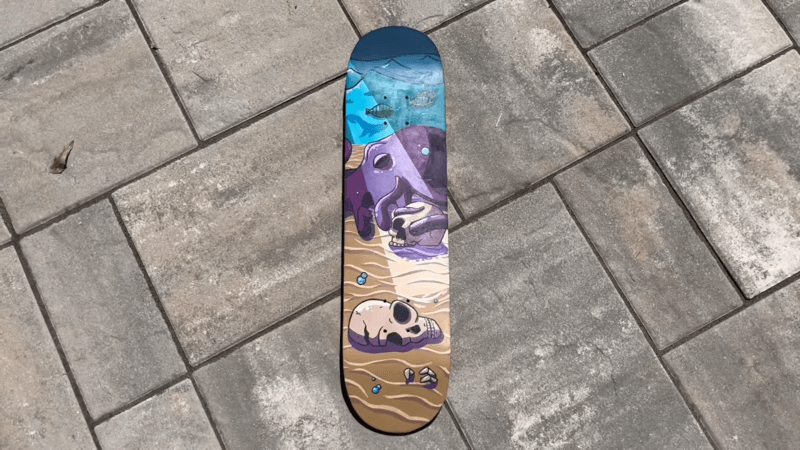
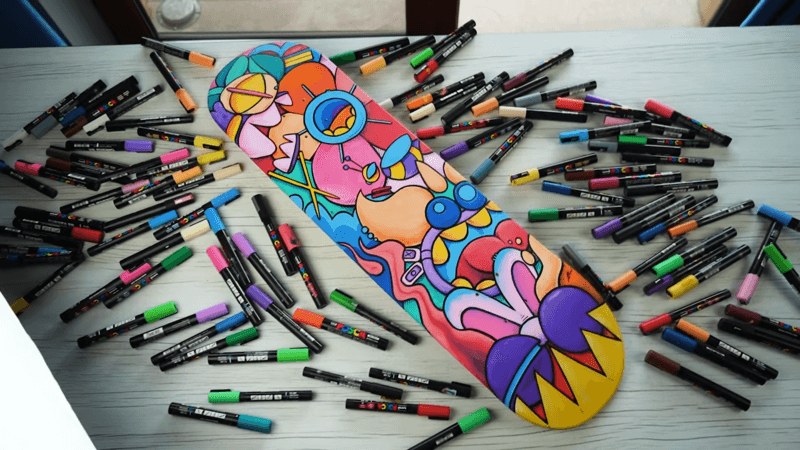
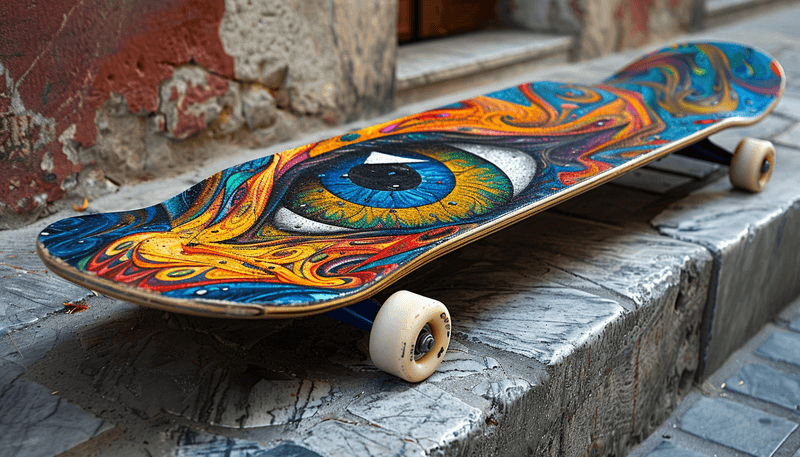
- Graphics and Aesthetics: Decide on custom graphics or a blank canvas to showcase your unique style and personality.
- Construction Quality: Ensure the materials and craftsmanship meet your expectations for durability, performance, and overall satisfaction.
Tools and Materials Needed to Make Your Own Skateboard Deck
Creating your own custom skateboard deck is a hands-on project that requires the right tools and materials. Whether you’re a seasoned skater or new to the craft, here’s what you’ll need to get started:
Materials:
- Maple Veneer Sheets: Typically, 7 plies are used for standard skateboard decks.
- Wood Glue: Choose a water-resistant adhesive for durability.
- Mold or Press: To shape the deck during the lamination process.
- Jig or Clamps: These are essential for holding the veneer layers together securely.
- Router: For cutting the deck to its final shape.
- Sandpaper: To smooth edges and surfaces post-cutting.
- Clear Coat or Paint: Optional for adding a protective finish or personalized design.
Tools:
- Circular Saw or Bandsaw: For cutting the veneer sheets to size.
- Sander: To ensure a smooth finish on the edges and surfaces.
- Drill: For making holes for the trucks and mounting hardware.
- Clamps: To secure the mold or press during the lamination process.
- Safety Gear: Gloves, safety glasses, and a dust mask to protect yourself during cutting and sanding.
To order your amazing personalized skateboard deck, visit wipiskate.

Why Maple Wood is Preferred for Skateboard Decks
Maple wood has long been the material of choice for skateboard decks due to several key advantages:
- Strength and Durability: Maple is known for its exceptional strength-to-weight ratio, making it resilient to the stresses of skating.
- Pop and Resilience: The layers of maple veneer provide a solid, responsive feel and excellent “pop” for tricks.
- Consistency: Maple’s uniform grain structure ensures consistent performance across different decks.
- Availability: Maple is widely available and sourced sustainably, making it a practical choice for manufacturers and DIY enthusiasts alike.
How to Accurately Drill Holes for Trucks
Properly drilling holes for trucks is crucial to ensuring stability and safety while riding your skateboard. Here’s a step-by-step guide to drilling holes accurately:
- Mark Hole Locations: Place the trucks on the deck and use a pencil or marker to mark the center of each mounting hole.
- Use a Center Punch: To prevent the drill bit from slipping, use a center punch to create a small indentation at each marked spot.
- Select the Right Drill Bit: Choose a drill bit that matches the diameter of your mounting hardware (typically around 5/32 inch for standard hardware).
- Secure the Deck: Clamp the skateboard deck securely to a work surface to prevent it from moving while drilling.
- Drill Holes: Carefully drill through the marked spots with the selected drill bit. Start with a slow speed to ensure precision and control.
- Countersink (Optional): To ensure the hardware sits flush with the deck, you can use a countersink bit to slightly widen the top of each hole.
- Deburr and Clean: After drilling, use sandpaper or a deburring tool to smooth out any rough edges around the holes.
- Attach Hardware: Once holes are drilled and cleaned, attach the trucks using the appropriate hardware, ensuring everything is securely fastened.
Conclusion
Understanding how to make a skateboard deck is not just a DIY project; it’s a pathway to personalization and performance enhancement. By carefully selecting materials like maple veneer and utilizing essential tools such as molds and routers, you can craft a deck that reflects your style and meets your skating needs.
I am Jasper Thorn, a man passionate about skateboarding. My heart does kickflips and ollies with the rhythm of the wheels on concrete. Every trick, every grind, and every flip tells a story of adrenaline and freedom. I’m always out there, turning every skatepark into my playground, painting it with my awesome moves.


